How to Assemble a 2 Piece Box: Step-by-Step Guide
I still remember the first time I opened a box of flat-shipped rigid boxes for a client’s product launch. Two...
I still remember the first time I opened a box of flat-shipped rigid boxes for a client’s product launch. Two separate pieces, no instructions, and a deadline in four hours. Turns out there’s nothing complicated about it once you know the two or three things that actually matter — but nobody tells you those upfront, so you end up learning them the hard way, usually by creasing a corner on your first attempt. This is the guide I wish someone had handed me back then.
First, What Are We Even Talking About?
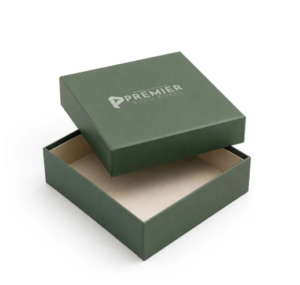
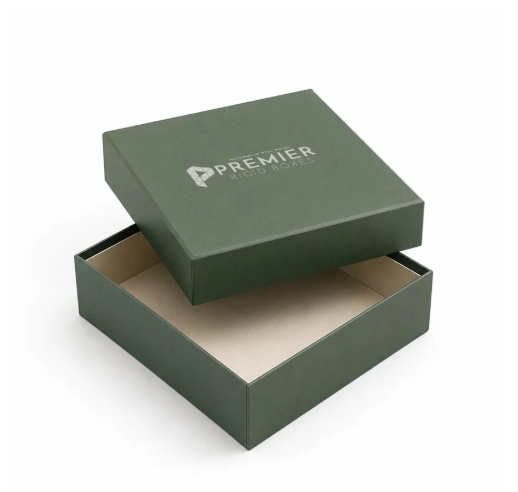
A 2 piece rigid box is just two parts a base tray and a lid made from thick chipboard wrapped in a decorative paper or laminate. People also call it a base-and-lid box, and if it’s tall enough that the lid slides down over most of the base, some folks call that a telescoping box too. Doesn’t really matter what you call it.
The main thing to understand is this: it doesn’t fold flat as a shipping carton does. It’s already rigid, already shaped, before it ever gets to you. So “assembling” it isn’t folding along score lines it’s more about fitting things together properly and not rushing the process.
Gather These Before You Touch Anything
Honestly, you probably have most of this lying around already:
- A clean table or counter dust is the enemy here, more than people expect
- Cotton gloves if you’re precious about fingerprints on matte finishes (not strictly necessary, but nice to have)
- Foam insert or some tissue paper, depending on what’s going inside
- A soft, lint-free cloth for the end
- Patience sounds silly, but rushing the lid step is where 90% of the damage happens
The Actual Steps
1. Look at both halves before you do anything else
Sounds obvious, but people skip this. Lay the base and lid down flat and check the corners for dents or scuffs from shipping. It’s a five-second check that saves you from packing a product into a box that was already damaged before it left the warehouse.
2. Peel off any protective film
A lot of glossy or foil boxes ship with a thin film over the surface. Start from one corner and pull slowly if you yank it, you risk taking a bit of the laminate with it, and then you’ve got a box with a weird matte patch.
3. Set the insert in first, then the product
If a foam tray or divider is going in, that goes into the base before the product does. Push down gently at the edges so it actually sits flat sometimes inserts arrive slightly curled from how they were stacked in transit.
4. Tissue paper if there’s space
Not every product fills the box, and that’s fine. A folded sheet on top keeps things from sliding around, and honestly, it just looks better when the customer lifts the lid.
5. Line the lid up before you lower it, not while you’re lowering it
This is the step everyone rushes. Hold the lid above the base and eyeball the gap on all four sides. If one side looks tighter than the other before you’ve even started, fix that now, not halfway down.
6. Lower it straight, in one motion
Don’t tilt it in from a corner or an edge. I know it feels natural to angle it in like you’re closing a drawer, but that’s exactly how corners get crushed on a snug-fit box.
7. Give it the fit check
A good rigid box should close with a bit of resistance — enough that it doesn’t rattle, not so much that you’re forcing it shut. If it’s uneven on one side, the box has probably been sitting under weight during storage. Let it rest flat for a couple of hours and try again.
8. Wipe it down before it goes anywhere near a camera or a customer
Fingerprints show up more than you’d think, especially on soft-touch lids. One pass with a dry cloth and you’re done.
Things That Trip People Up
- Forcing the lid in at an angle this is the big one, and it accounts for most of the corner damage I’ve seen
- Not checking that the insert sits flat first, which throws the whole fit off
- Building on a dusty surface you won’t notice until it’s sealed inside and shows up in unboxing photos
- Storing boxes on their side instead of flat, which can warp them over time, especially in humid conditions
Materials You’ll Run Into
| Material | Where it’s used | Why it matters |
| Chipboard, usually 1.5mm to 3mm | The core of both base and lid | Go heavier (2mm+) if the product has any weight to it |
| Textured or matte paper wrap | Outer finish | Hides fingerprints better, feels more premium in hand |
| Laminated art paper (glossy or soft-touch) | Outer finish | Glossy looks sharp in photos but shows every smudge |
| Foam or EVA insert | Interior | Custom-cut for the product shape, keeps things from shifting |
| Corrugated liner | Sometimes added between board layers | Extra strength for heavier items like bottles or electronics |
FAQ
Do I need glue for this?
No, that’s a common assumption, but it’s wrong. The base and lid come pre-formed. You’re fitting pieces together, not folding and gluing like you would with a regular carton. Glue only happens back at the factory.
Why does the lid feel loose after I’ve opened and closed it a bunch of times?
The inner walls of the base wear down a little with repeated use, especially on thinner board. If you’re ordering these for something that’ll be opened often, ask for 2mm board or heavier; it holds up noticeably better.
Can these be reused?
Yes, and that’s honestly one of the better things about them compared to folding cartons. As long as you haven’t crushed a corner, they’ll survive being reused or repurposed for something else entirely.
What separates a regular 2-piece box from a collapsible rigid box?
A standard one keeps its shape permanently; what you see is what you get, always. A collapsible version has hidden fold lines built in, so it can be flattened down for storage or shipping and then popped back into shape later.